This article will show you how to create a simple Flutter App to display a Contact List with fake data with Faker. This article is in the series Simple Flutter Apps where I want to show how to code some simple apps in Flutter to help you get started.
What we will build
We will build a simple Flutter App to show some fake data generated with Faker to simulate a contact list and go into contact details, this is useful to understand some concepts that can be used in Flutter Apps like:
- generate fake data to test UI design
- create a horizontal and vertical scrollview
- explore the useful ListTile widget
- explore simple navigation between screen
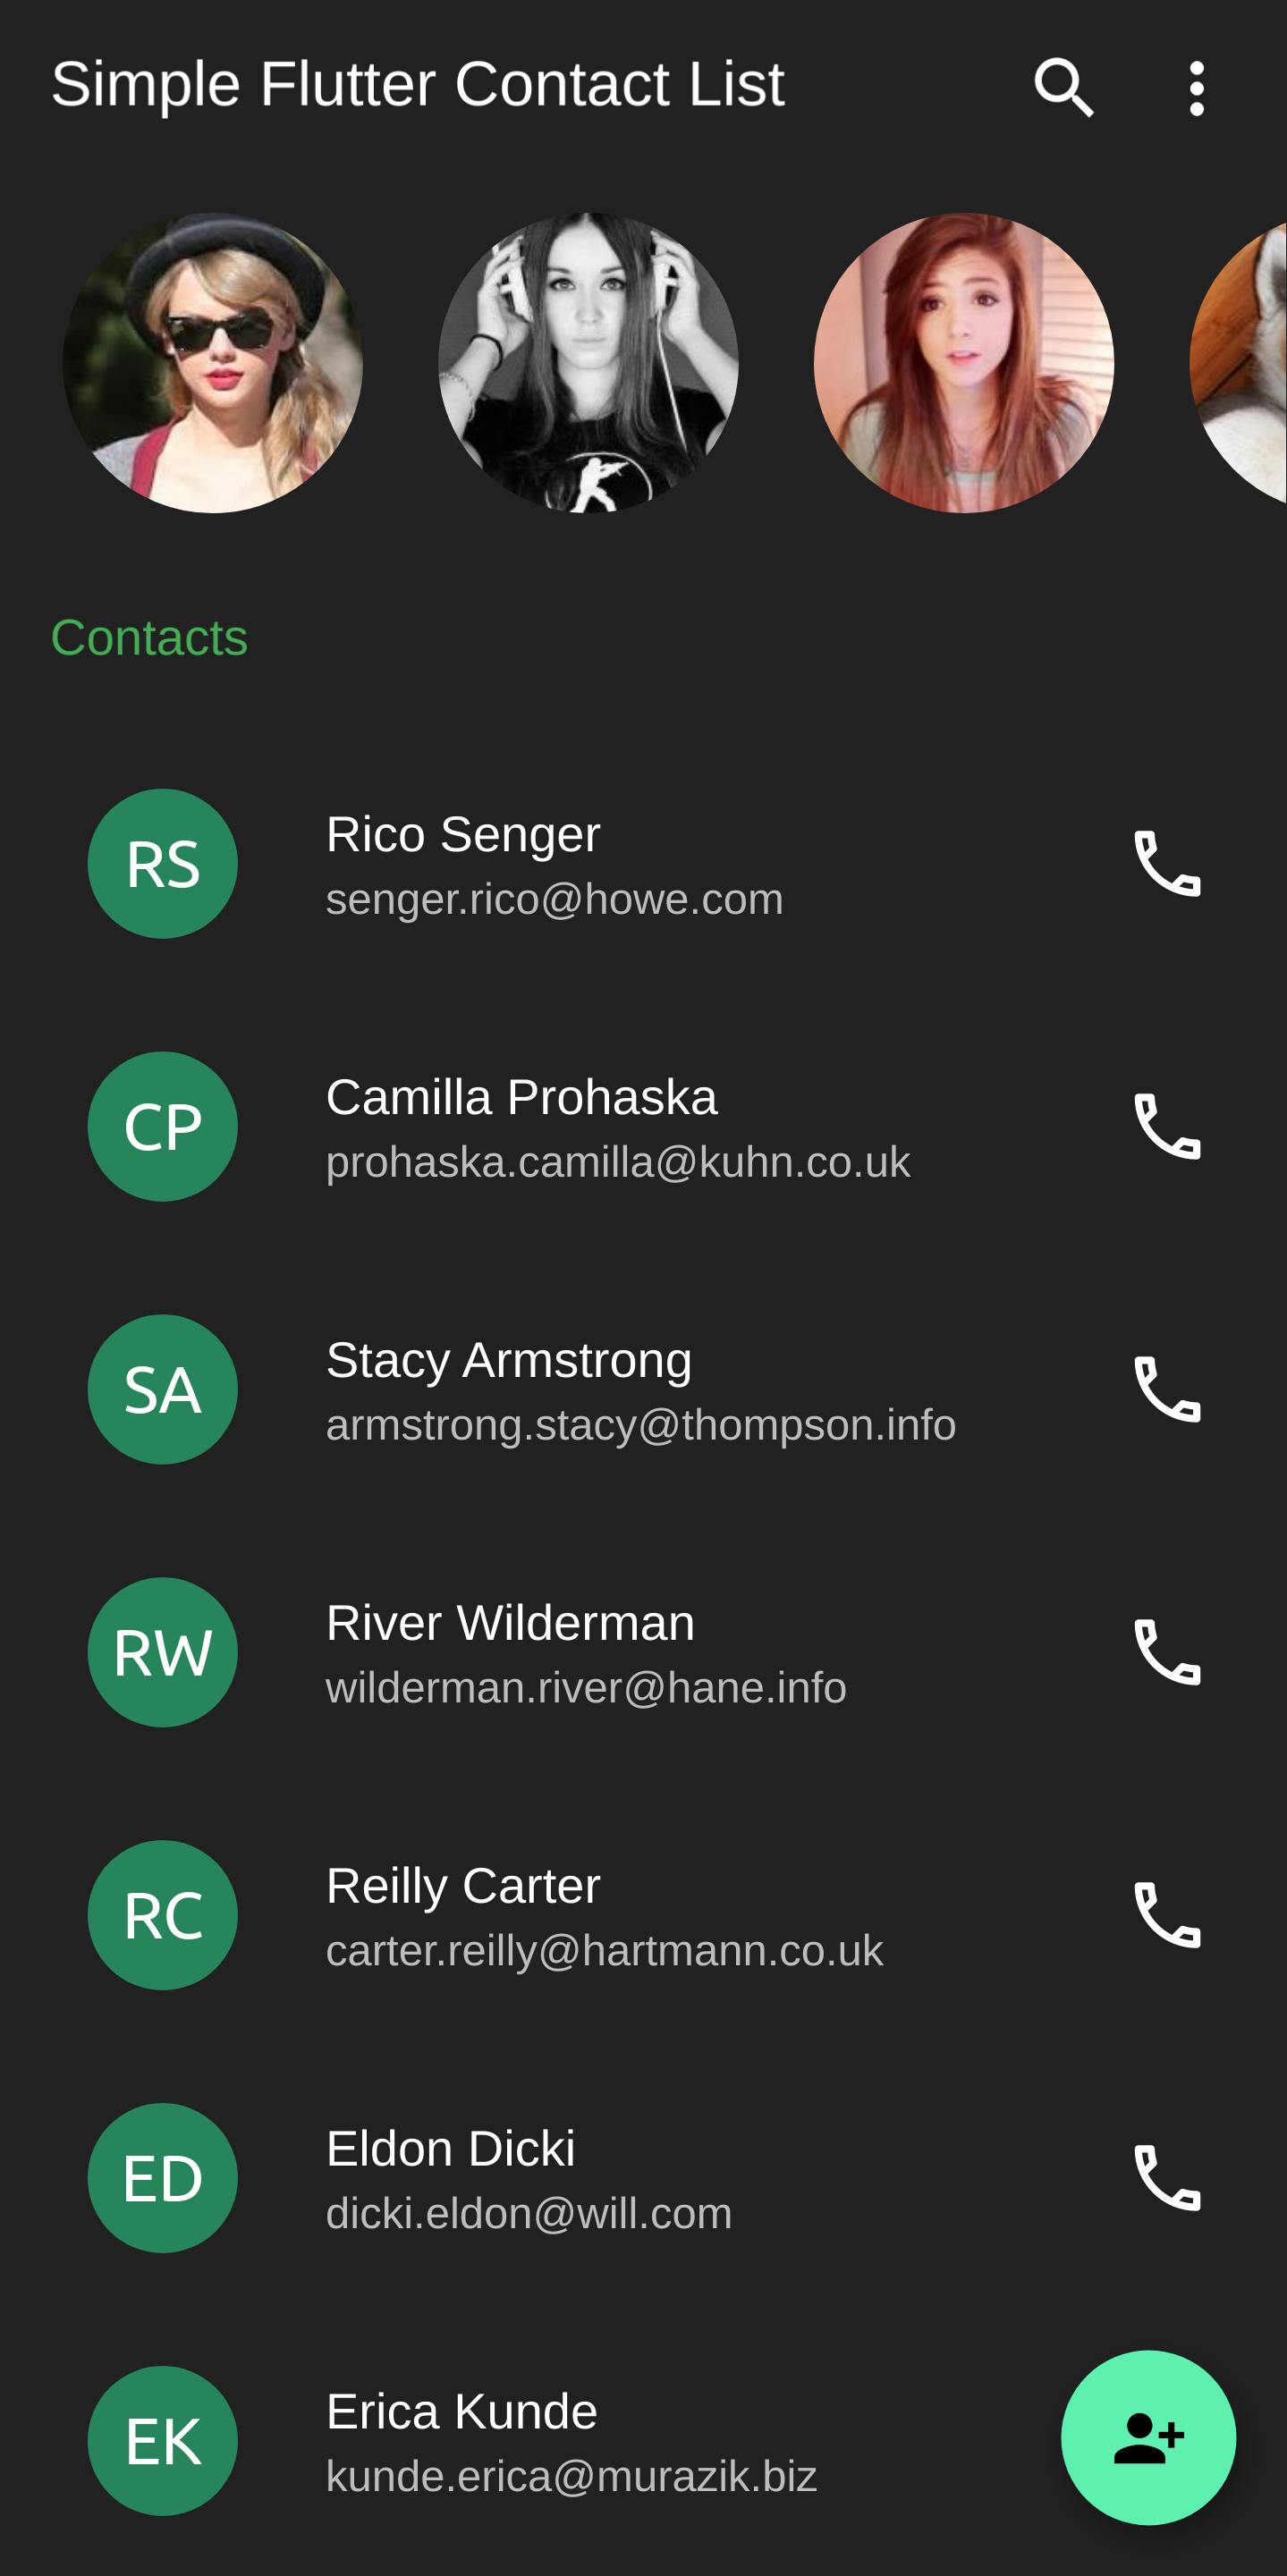
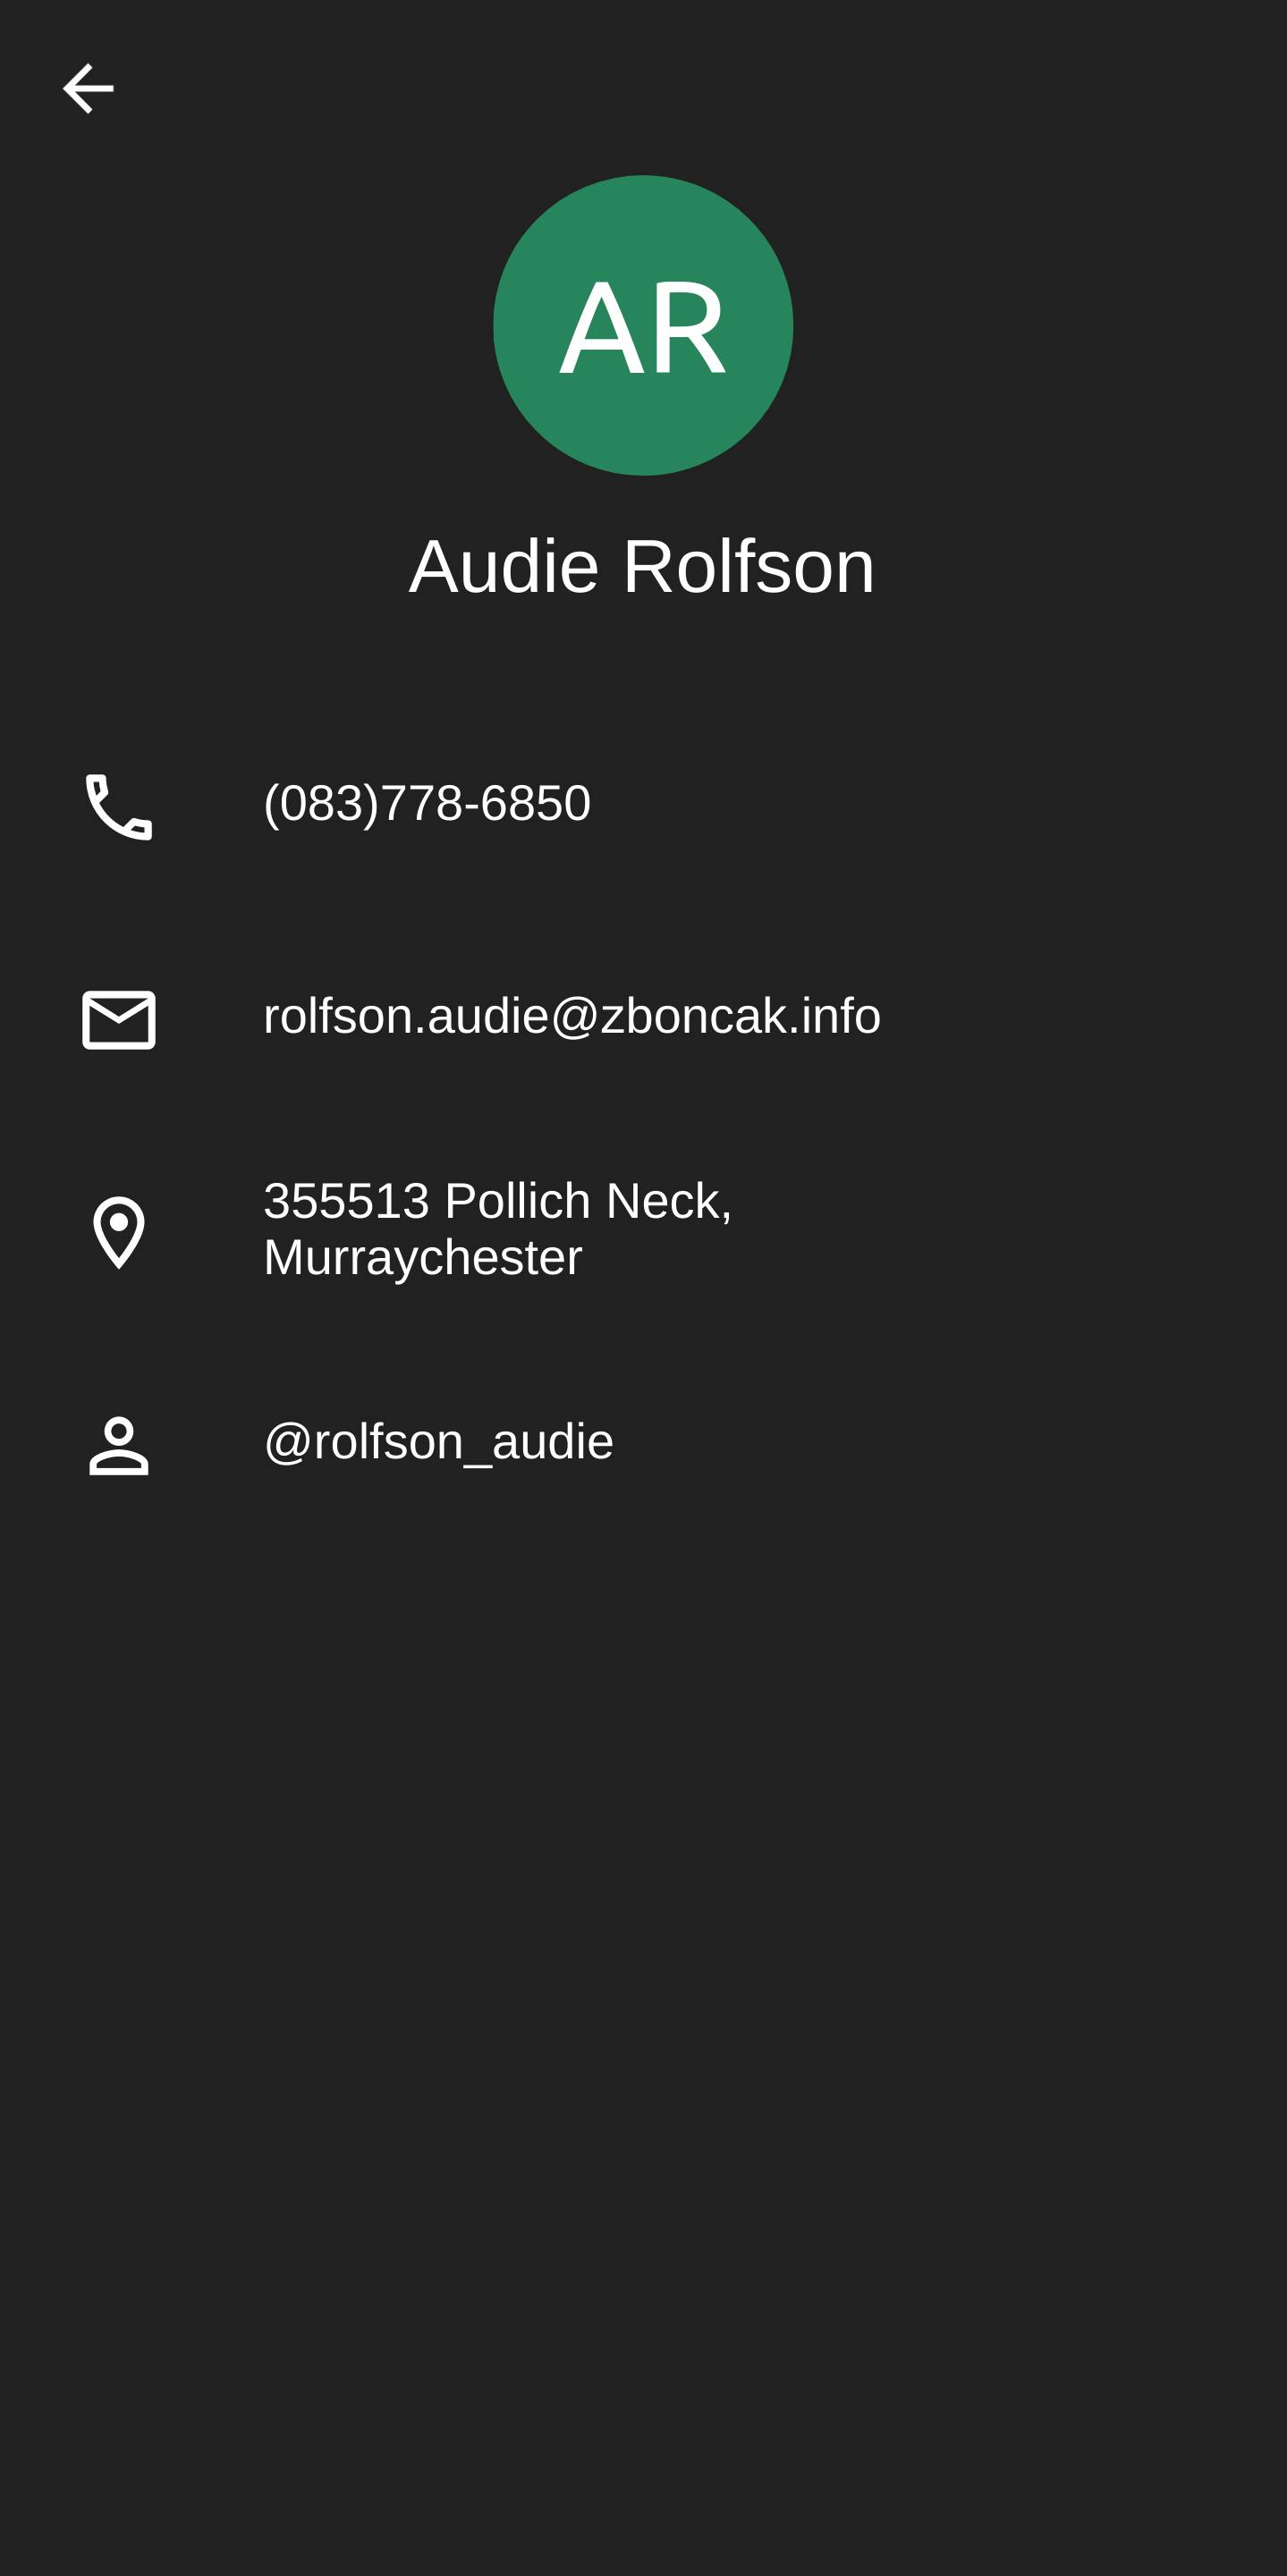
The final result will look like this
| Home | Details |
 |  |
Let's code
You can find all the code in this GitHub repo simple-flutter-contactlist and these are the main parts:
- lib/models/contact.dart: this is the model that represents all the contact details, for the purpose of this post we will use name, surname, phone, email, address, city, username, avatar;
- lib/ui/contact_row.dart: use of ListTile widget where you can create a simple layout with all the components in the right place;
- lib/pages/singlecontact_page.dart: single page to show all the contact information.
As we did in the previous post we have to create a dart class to represent our Contact
class Contact {
  final String name;
  final String surname;
  final String phone;
  final String email;
  final String address;
  final String city;
  final String username;
  final String avatar;

  Contact(
      {required this.name,
      required this.surname,
      required this.phone,
      required this.email,
      required this.address,
      required this.city,
      required this.username,
      required this.avatar});
}
To create all the fake information about a contact we use Faker
//import library
import 'package:faker/faker.dart';
//initialize it
final _faker = new Faker();

//Create single Contact
Contact _thisPerson = Contact(
    name: _contactFirstName,
    surname: _contactLastName,
    phone: _faker.phoneNumber.us(),
    email: Utils.createEmail(
        _contactFirstName, _contactLastName, _domainName),
    address: _faker.address.streetAddress(),
    city: _faker.address.city(),
    username: Utils.createUsername(
        _contactFirstName, _contactLastName),
    avatar: Utils.createAvatarLink(
        _contactFirstName, _contactLastName));
To maintain consistency between name, surname, email, and username of the random data generated by Faker I created three simple functions that I put in the Utils.dart file
String createEmail(String firstName, String lastName, String domainname){
  return "${lastName.toLowerCase()}.${firstName.toLowerCase()}@$domainname";
}

String createUsername(String firstName, String lastName){
  return "${lastName.toLowerCase()}_${firstName.toLowerCase()}";
}

String createAvatarLink(String firstName, String lastName){
  return "https://eu.ui-avatars.com/api/?name=$firstName+$lastName&background=2f855a&color=fff";
}
With all the informations on the contact, we can now display it in a single row with the ListTile widget that lets you create a row layout with little effort and arranges information in the right way, the main parts are:
ListTile(
    //Action to perform when the user tap on the row
    onTap:
    //Content to display, in the most case as an icon, on the left
    leading:
    //Main text widget to display in the row
    title:
    //Secondary text widget to display in the row
    subtitle:
    //Content to display, in the most case as an icon, on the right
    trailing:
);
two examples of ListTile widget in the app are


To perform the navigation between screen I used the Navigator widget to go to and from screens
//In this way I can go into another screen
Navigator.push(
  context,
  MaterialPageRoute(
    builder: (context) => SingleContactPage(
      contact: this.contact,
    ),
  ),
);

//In this way I can go back to the previous screen
Navigator.pop(context);
How to improve it
There are lots of improvements that we can do to make our app better, now I can list some of them to give you some inspirations:
- let the user perform a call by tapping on the phone icon in the list of contacts, the url_launcher package can make it happens;
- let the user filter on the contacts list;
- test more layout variation on the ListTile Widget both in the contacts list as well in the detail page;
- define a custom layout for the detail page, on sites like Uplabs, Behance or Pinterest you could find lots of UI Design to improve it.
You can find all the app code in this GitHub repo: simple-flutter-contactlist, you can fork, use and modify it as you want, the app uses the latest Flutter 2.2 so it's already with Sound Null Safety, you can build it on Android, iOS and on the Web.
Bye, Alberto

